– which is completely irrelevant except for, I suppose, nails are… kinda like teeth? (Only not at all really; see previous post) Irregardless! With punches newly arrived from China, I set up the workbench for the final steps!
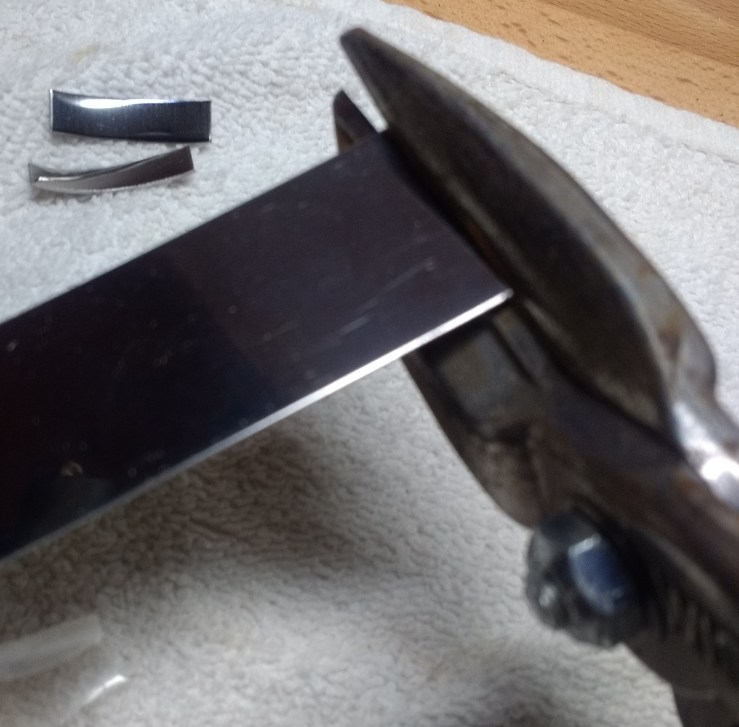
First up was cutting out the blanks – the brass flats I had were thicker, but could take an impression on both sides, whereas the steel stock was thin enough it couldn’t be double-struck but could be threaded two-per-ring for race info and nail location. After the tiny chop-saw I found proved wholly unsatisfactory for anything more strenuous than wooden dowels, and figuring I’d be cleaning them up by hand anyways, I went with the Dremel.
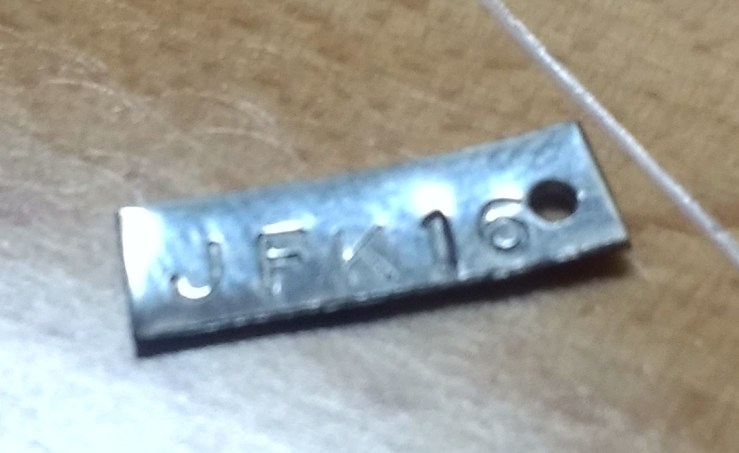
Once I had the rough pieces ready, I punched the info. Nail location was /(L|R)(BIG|PTR|MID|RNG|PNK)/, and the race was limited to 4-5 characters plus the two-digit year. So “JFK16 // RBIG” would be my right big toe, lost at/from the JFK 50-Miler in 2016.

Next up was drilling the holes about which… really, there’s not much to say. It was a pain, because I was using whatever random bits I had lying around. Super for wood and plastic, solid on aluminum; brass and steel… not so much.
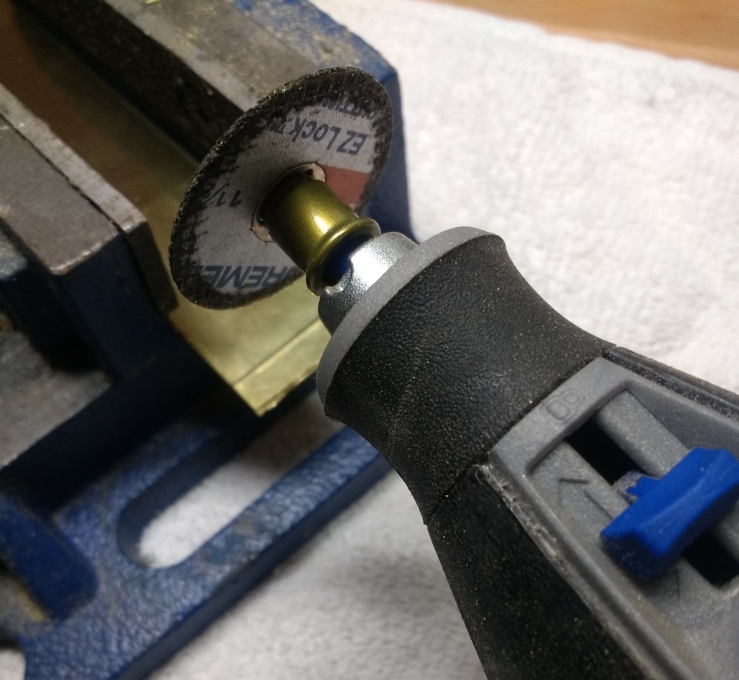
Cleaning them up was also a pain, given how small they were, so I ended up… improvising. Lacking a bench grinder or belt sander, let alone one suitably sized for the charm tags, I made one ad hoc. HAHA, DISREGARD THAT! The first one I did using a totes ghetto “””belt sander””” of a Dremel-in-a-bench-vise; the others I had access to an actual belt sander (well, bench grinder) to clean up.
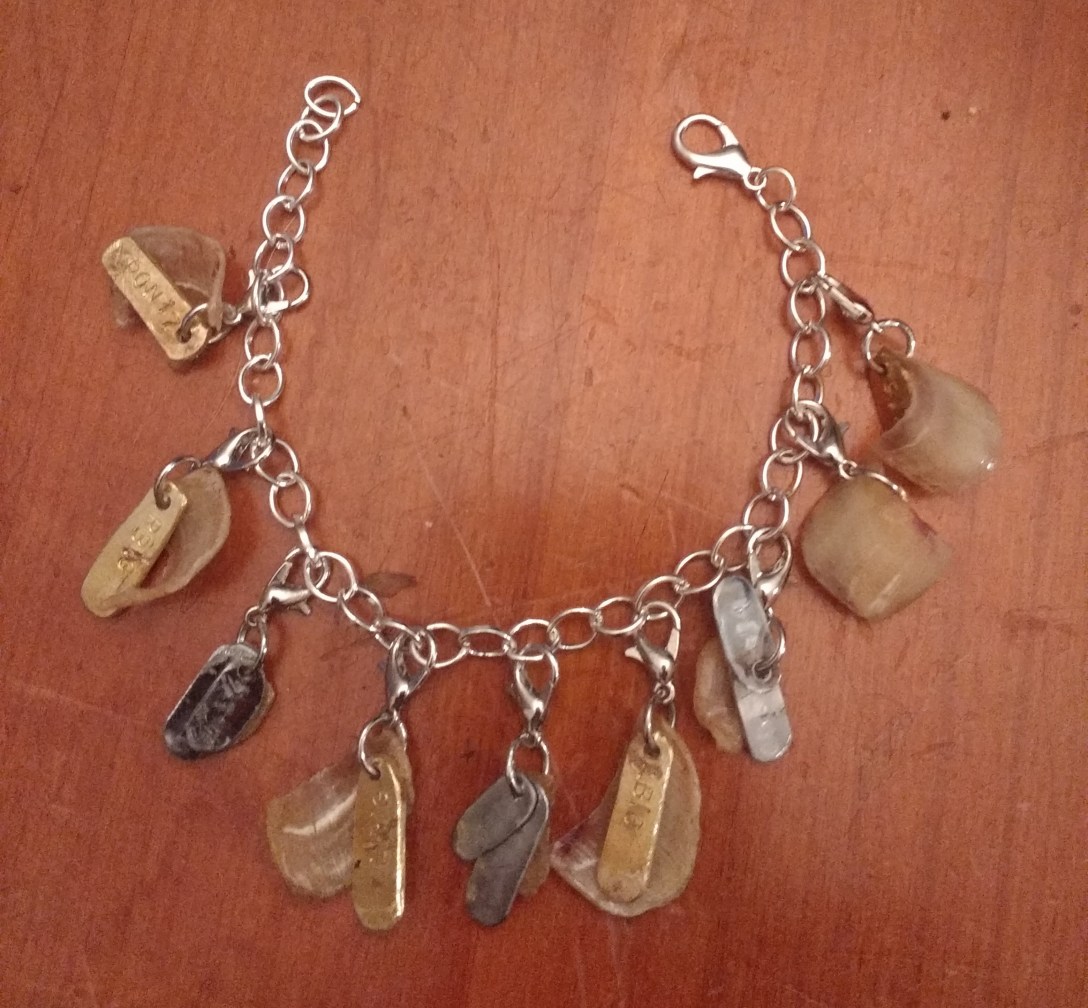
After a final pass with a Dremel sanding drum, it was time to assemble each of the charms. A jump ring took, in order, the lobster hook, the toenail, and then the tag(s).
Bending the jump ring shut, I put some silver solder on it to secure it. Oh yeah, given that the nails at this point are air-dried protein chips covered in lacquer, it’s rather advisable to have a steady hand, here.


